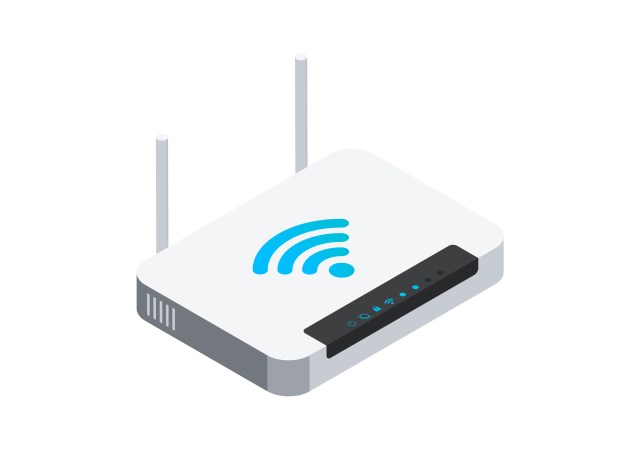
Understanding the Basics: Setting Up Your Wireless Router
In this fast-paced digital era, having a reliable and secure internet connection is crucial. One of the key components to achieving this is setting up a wireless router properly. Whether you’re a tech-savvy individual or a beginner, understanding the basics of setting up your wireless router is essential. In this article, we will guide you through the process step-by-step, ensuring that you have a seamless experience in setting up your wireless router.
Gathering the Necessary Equipment
Before delving into the technical aspects of setting up your wireless router, it’s important to gather all the necessary equipment. First and foremost, make sure you have a wireless router that suits your needs. Consider factors such as speed, range, and compatibility with your devices. Additionally, ensure that you have an Ethernet cable for connecting your modem to the router and an internet service provider (ISP) that offers broadband connectivity.

Connecting Your Modem and Router
The next step in setting up your wireless router is connecting it to your modem. Begin by turning off both your modem and computer. Locate the Ethernet port on the back of your modem and connect one end of the Ethernet cable to it. Then, take the other end of the cable and plug it into the WAN or Internet port on your wireless router.
Once everything is properly connected, turn on your modem first followed by your wireless router. Give them some time to establish a connection with each other before proceeding further.
Configuring Your Wireless Router Settings
Now that you have successfully connected your modem and router, it’s time to configure its settings for optimum performance. Open a web browser on your computer and enter “192.168.1.1” or “192.168.0.1” in the address bar – these are commonly used default IP addresses for accessing routers’ admin panels.
You will be prompted to enter a username and password. Refer to your router’s manual or check the manufacturer’s website for the default login credentials. Once logged in, you can change the default username and password for security purposes.
Next, you will be directed to the router’s settings page. Here, you can configure various settings such as network name (SSID), password, encryption type, and channel. It is recommended to choose a unique SSID that is easy to remember but not easily guessable by others. Additionally, set a strong password using a combination of letters, numbers, and special characters.
Testing Your Wireless Connection
After configuring your wireless router settings, it’s time to test your wireless connection. Disconnect the Ethernet cable from your computer and connect to your newly created wireless network using the SSID and password you set earlier. Open a web browser and navigate to several websites to ensure that you have a stable internet connection.
If you encounter any issues or experience slow browsing speeds, try moving closer to your wireless router or adjust its position for better signal reception. Additionally, make sure that there are no physical obstructions such as walls or electronic devices interfering with the signal.
Conclusion
Setting up a wireless router doesn’t have to be an intimidating task. By following these simple steps – gathering the necessary equipment, connecting your modem and router, configuring your router’s settings, and testing your wireless connection – you’ll be well on your way towards enjoying a seamless internet experience in no time. Remember to consult your router’s manual or contact customer support if you encounter any difficulties along the way.
This text was generated using a large language model, and select text has been reviewed and moderated for purposes such as readability.


